Betrifft: orgAnice Plus
Frage:
How install orgAnice Plus?
Lösung:
The application must be installed on every workstation. There is only one difference between setup on the first workstation and the others (step 7)
1. Insert the orgAnice Plus installation-CD.
orgAnice Plus-Setup will start automatically. Press the „Weiter >“ button on the welcome-screen.
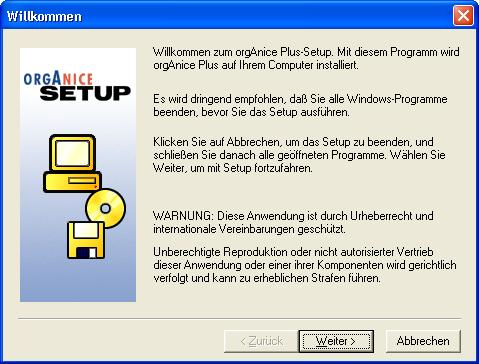
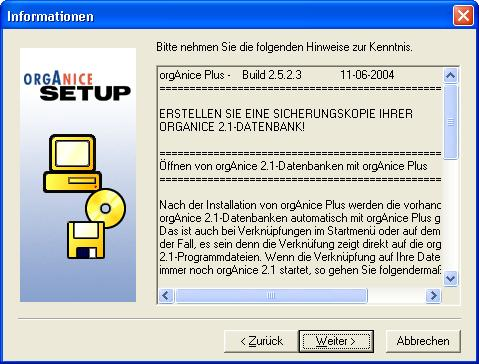
2. Press „Weiter >“ button
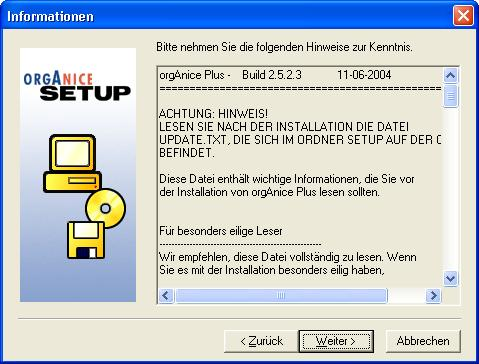
3. Press „Weiter >“ button
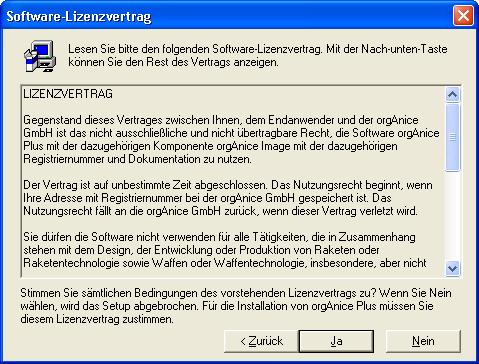
4. Press „Ja“ button
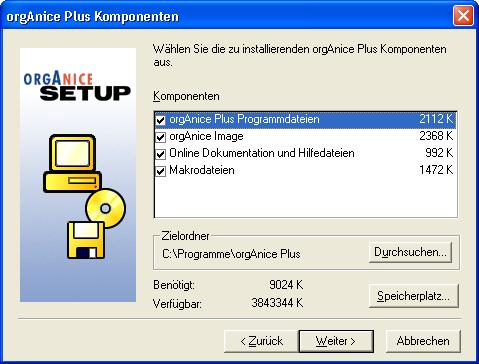
5. Here you can change the folder, in which the program files of orgAnice will be installed.
We recommend not to change the default values and to leave all components selected. Press „Weiter >“ button.
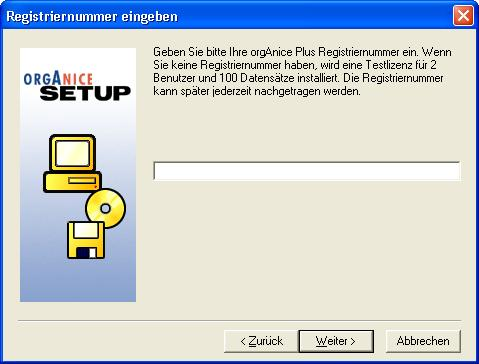
6. Insert your registration number for orgAnice Plus and press „Weiter >“ button.
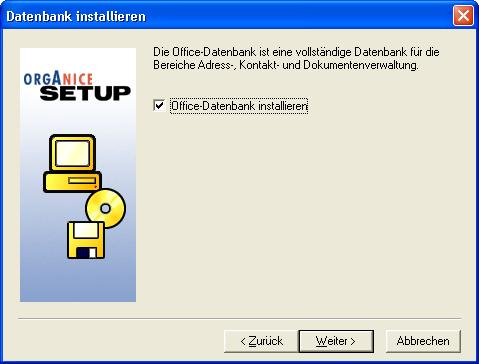
7. Here you have to choose, if you want to install the database or not.
Because you want to work with only one database in your network, which will be placed on your server, you should do the following:
– For the fist setup (it doesn’t matter with which workstation you start) leave the checkbox checked
– For every following setups on the other workstations uncheck the checkbox.
Press „Weiter >“ button.
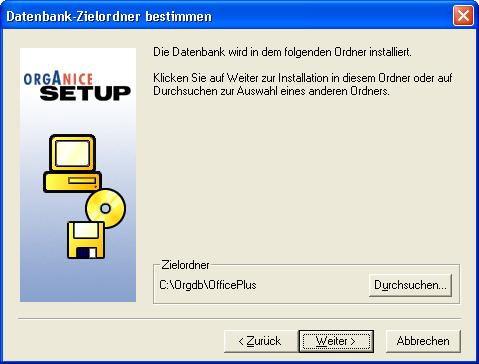
8. Here you have to choose the folder, in which the database will be installed.
This step appears only if the checkbox in step 7 is checked. You must choose a folder on your server.
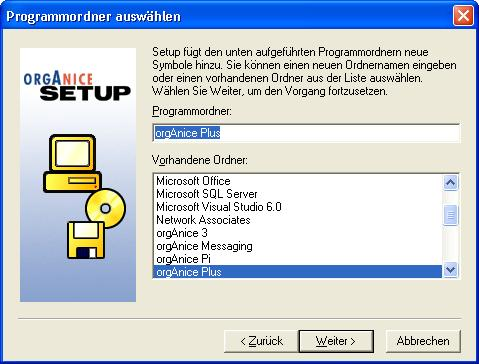
9. Here you choose the folder in the start menu. We recommend not to change the default value.
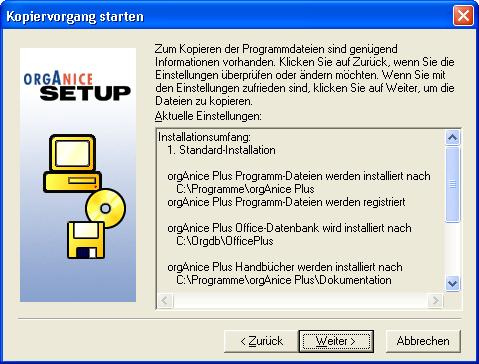
10. This is the last step. When you press „Weiter >“ button the installation will begin.
11. Press „Ja“ to create a link on your desktop.
This message box appears only if you install the database (the checkbox in step 7 is checked.)

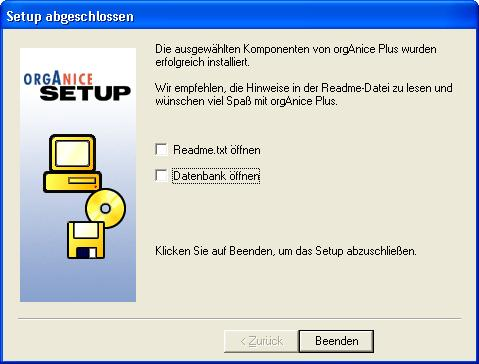
12. After the Setup has finished copying the files, uncheck the „Readme.txt öffnen“ (Show readme.txt) and the „Datenbank öffnen“ (Open database) checkboxes. Press „Beenden“ button.
13. Now you have a link on your desktop to the orgAnice Plus database. You have to create the same link on every following workstation manually. This is the link users have to double-click to start the application.

